Yesterday I potted up four of my Brandywine tomato plants into a trough filled with a 50/50 mixture of home made compost and bog standard container compost, bought from Aldi. I’ve chucked a lot of the other Brandywine seedlings out because they just looked too wind- and/or sun-scorched. Ditto some of the Gardener’s Pearl, although I did pot up seven of those into hanging baskets. They’re all going to have to take their chances in the big outdoors now, anyway.
Next year I shall plant my tomatoes a bit later – say, the middle of April, so that I can transfer them outside asap without having to worry about them being damaged by the elements! This part of England is a bit deceptive; it’s sunny and hot (compared with say, Manchester), but the April winds do blow ‘cos we’re surrounded on three sides by the sea!
Categories:
crops Tags:
tomatoes
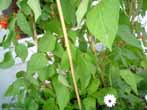
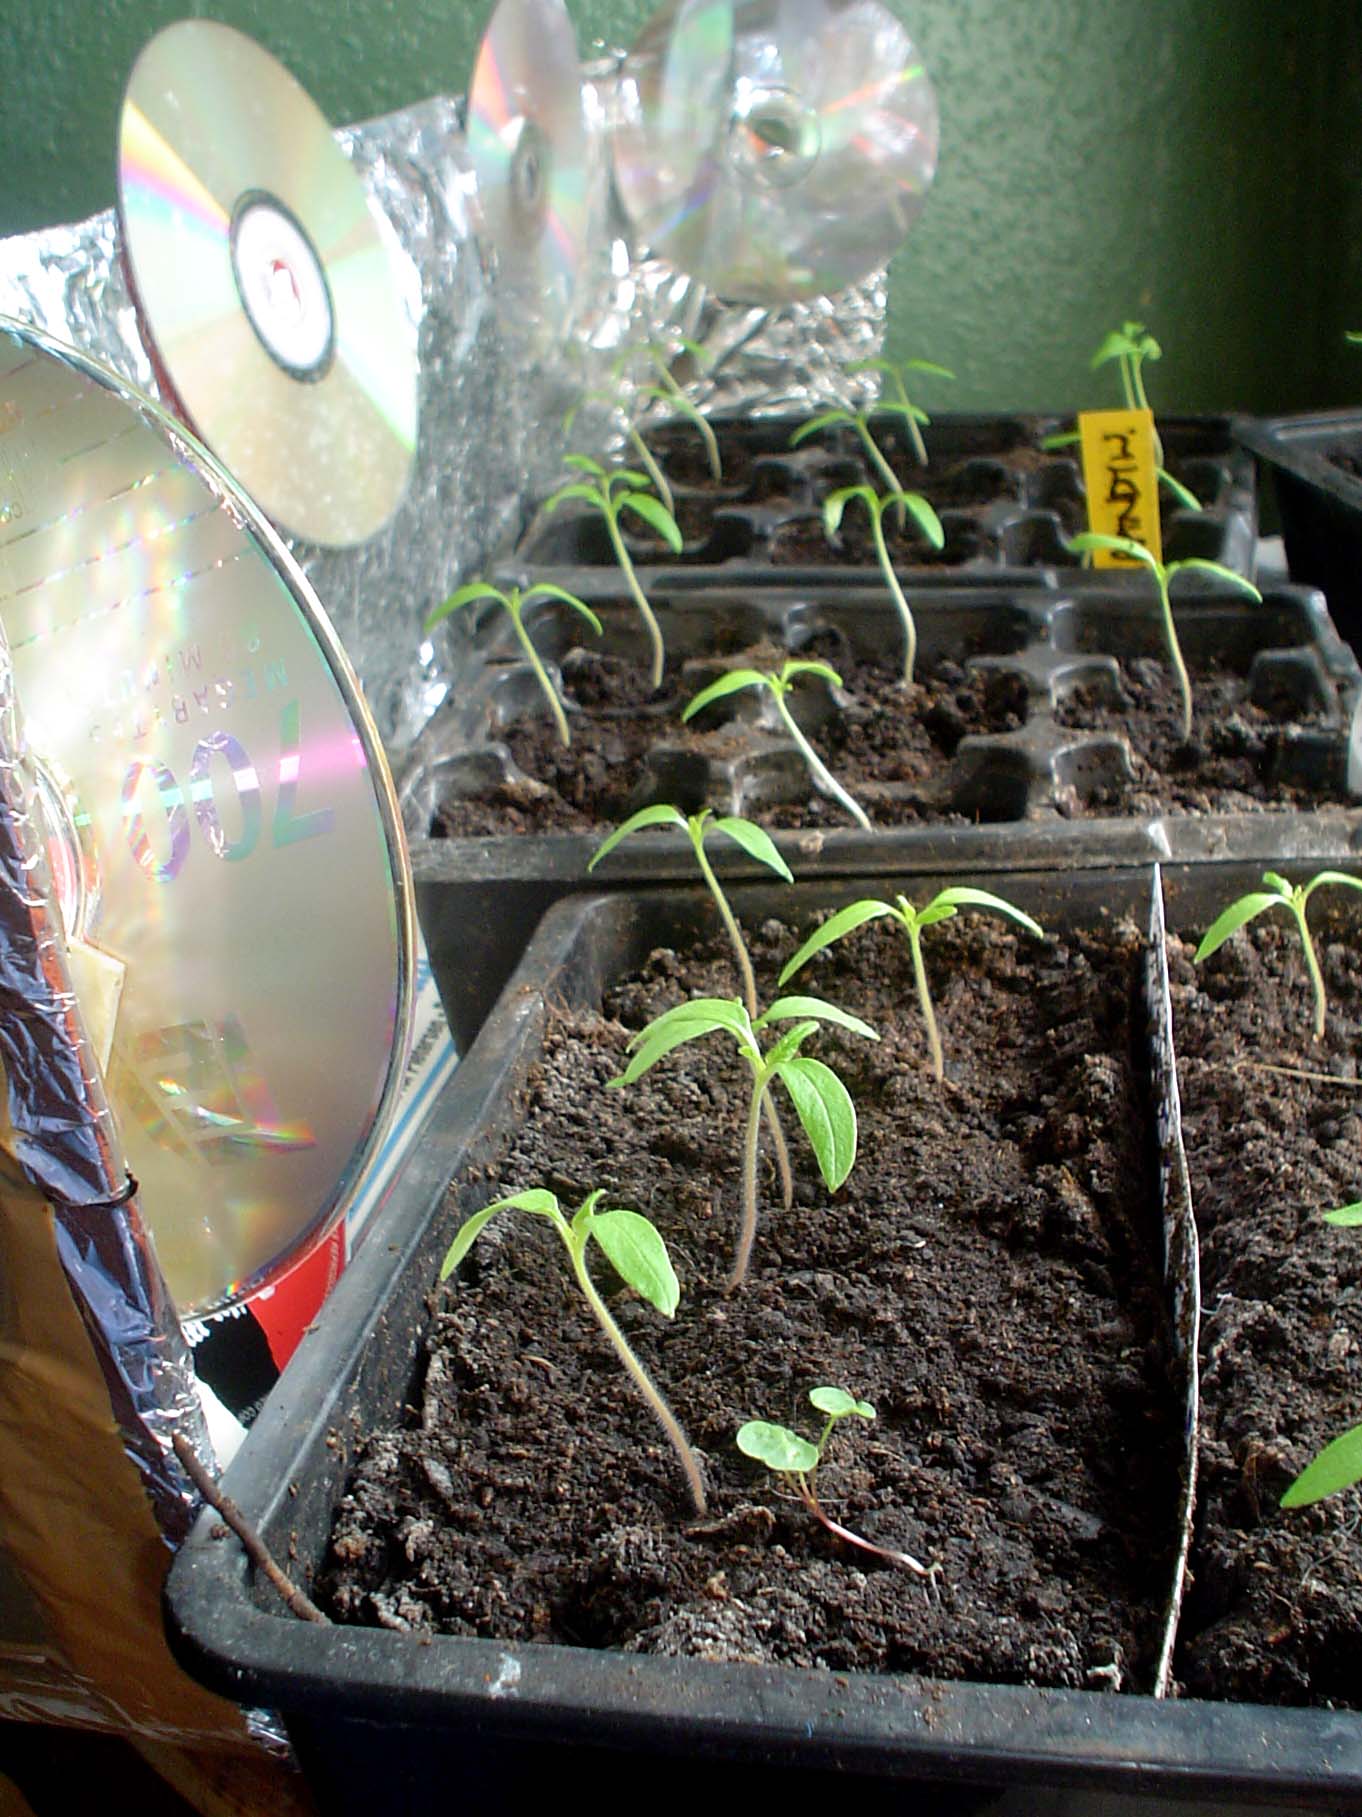
Here’s a tip for all you tomato growers out there: when you harden off your tomato plants, don’t put them in bright sunlight – at least, not for the first few days anyway. The poor things get sunburn (or leaf burn if you want to use the technical term)! This is particularly true of my Brandywine tomatoes; the other two varieties I’m growing (Gardener’s Delight and Gardener’s Pearl) don’t seem to be as bothered by the sun. Apparently (see here), the thing to do is put your tomato plants in a shady spot for the first few days of hardening off, and then they’ll be OK. And don’t get water on the leaves, either.
Last week I planted some giant red mustard seeds, which are already making an appearance, as you can see below. I had a few left over, so I planted them in my garlic troughs to fill up the space. If the slugs and snails don’t nobble it, we will be enjoying some very exotic stir fries in a few months’ time.

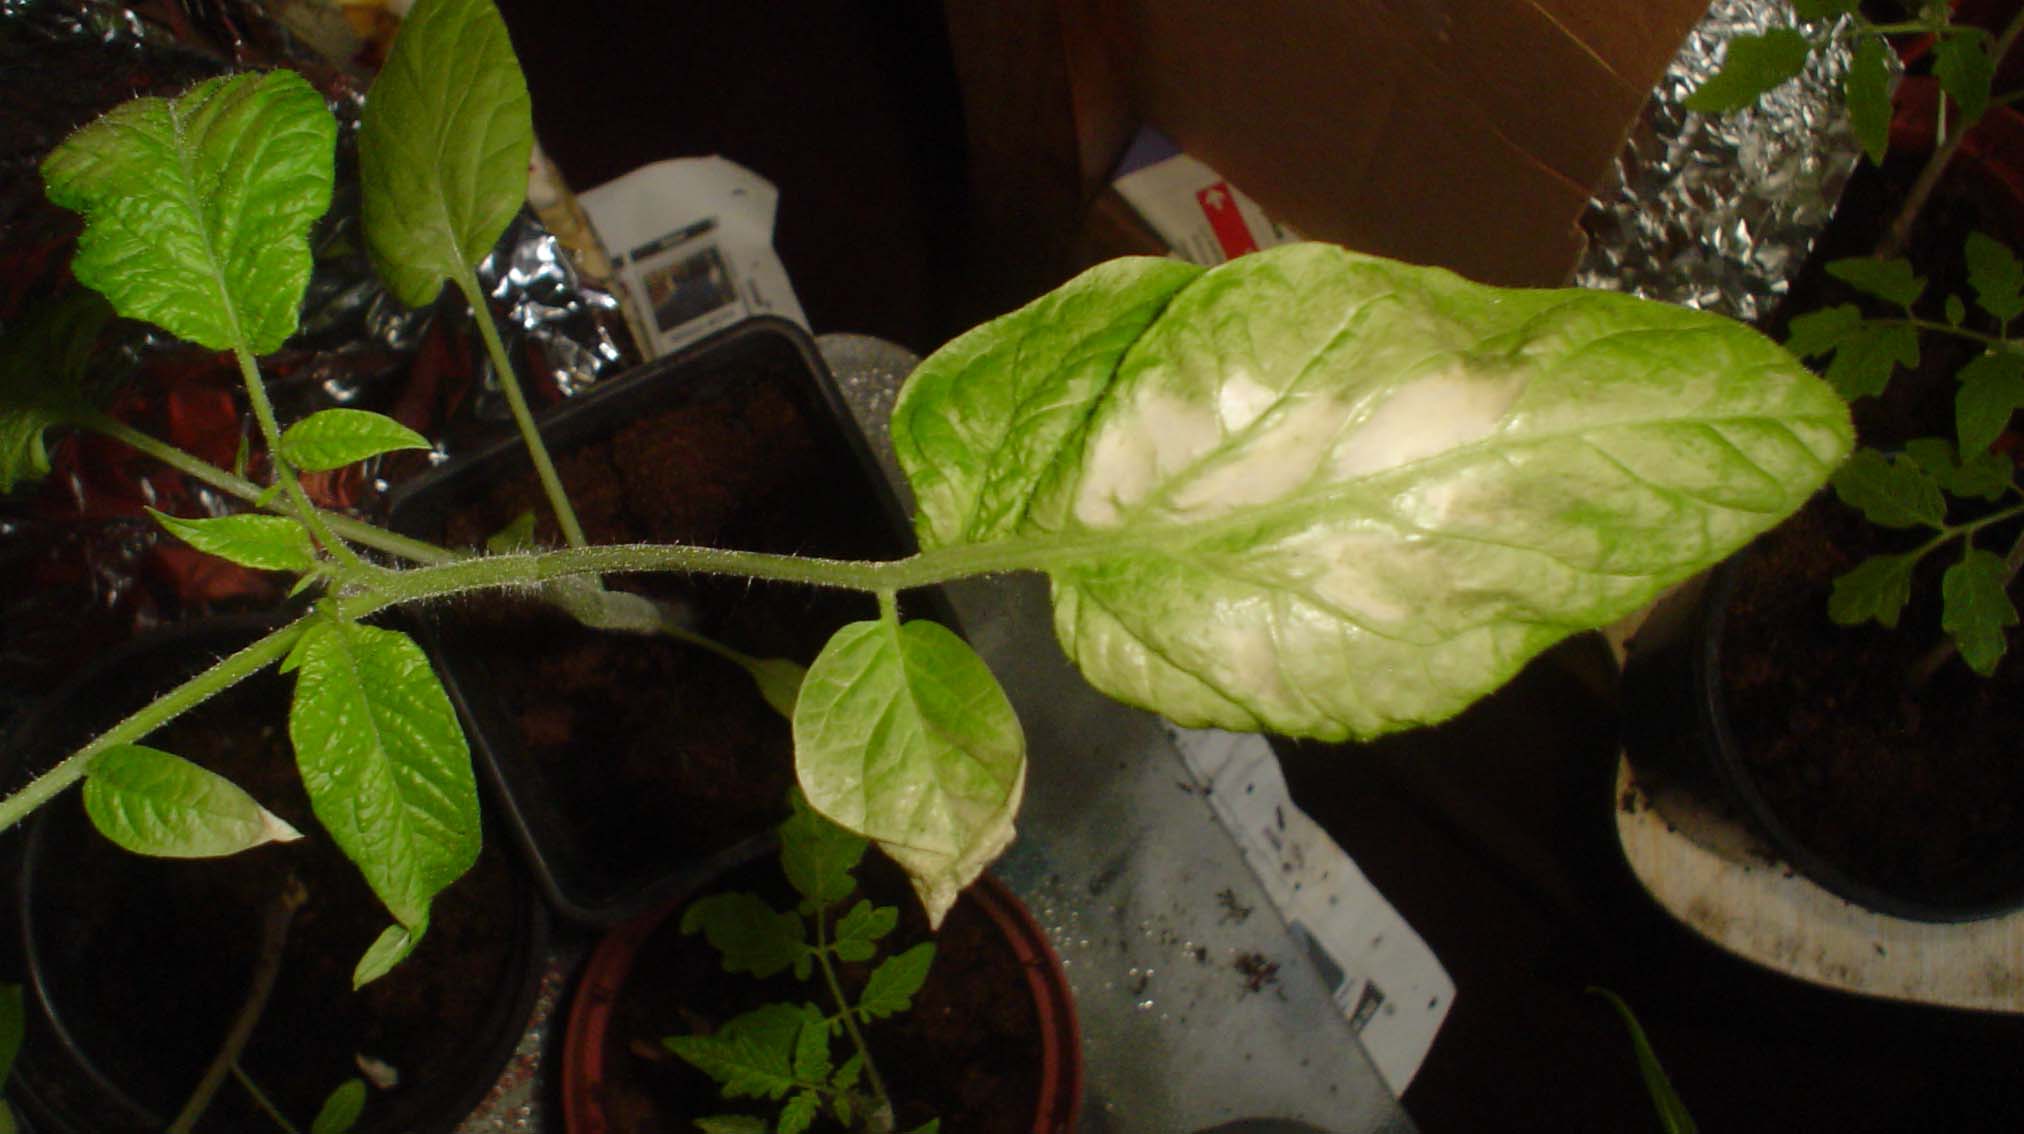
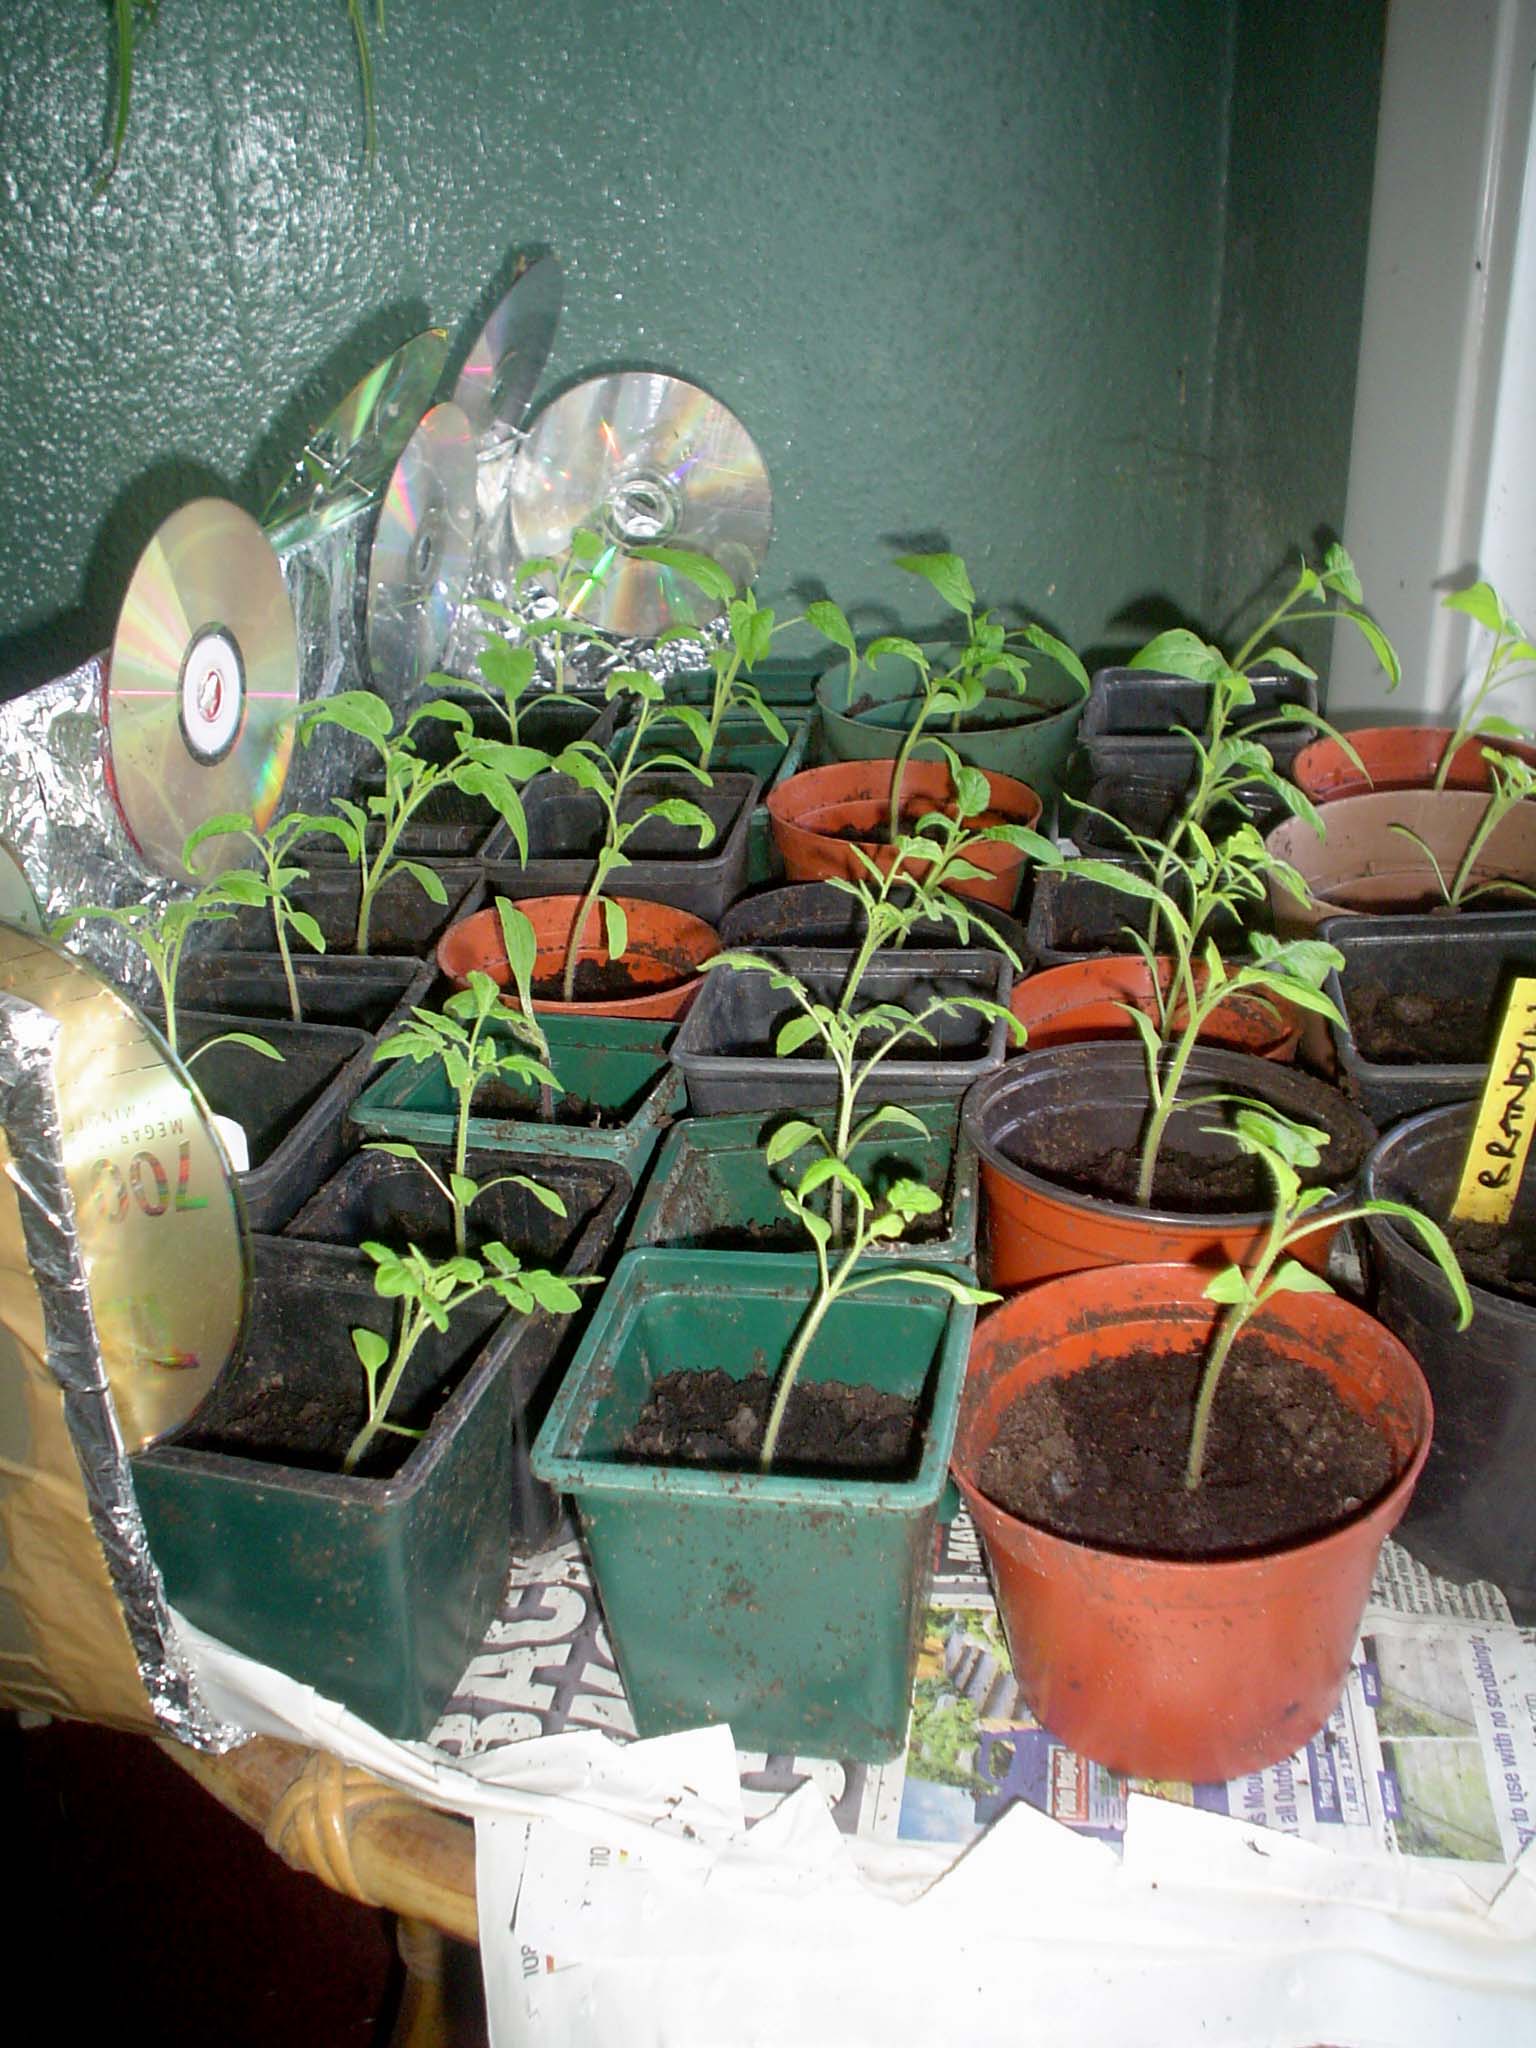
| I planted these spring onions back in March and straight away afterwards, we had a cold spell so I was worried that they wouldn’t sprout. But they have, as you can see! When planting them in pots (as opposed to in the ground) is that you ignore the bit on the packet that says “sow thinly” and just pack ’em in. As they grow bigger, you just thin them out gradually and eat the thinnings, which are gorgeous in salads. I love spring onions so much that I’ve since planted another lot, in an old washing up bowl with holes I punched in the bottom. (Tip: to create a hole, hold a large metal skewer in a gas flame and poke it into the washing up bowl. Repeat as often as necessary. Don’t stand too near your smoke alarm when you do this.) |
 |
Categories:
crops Tags:
spring onions
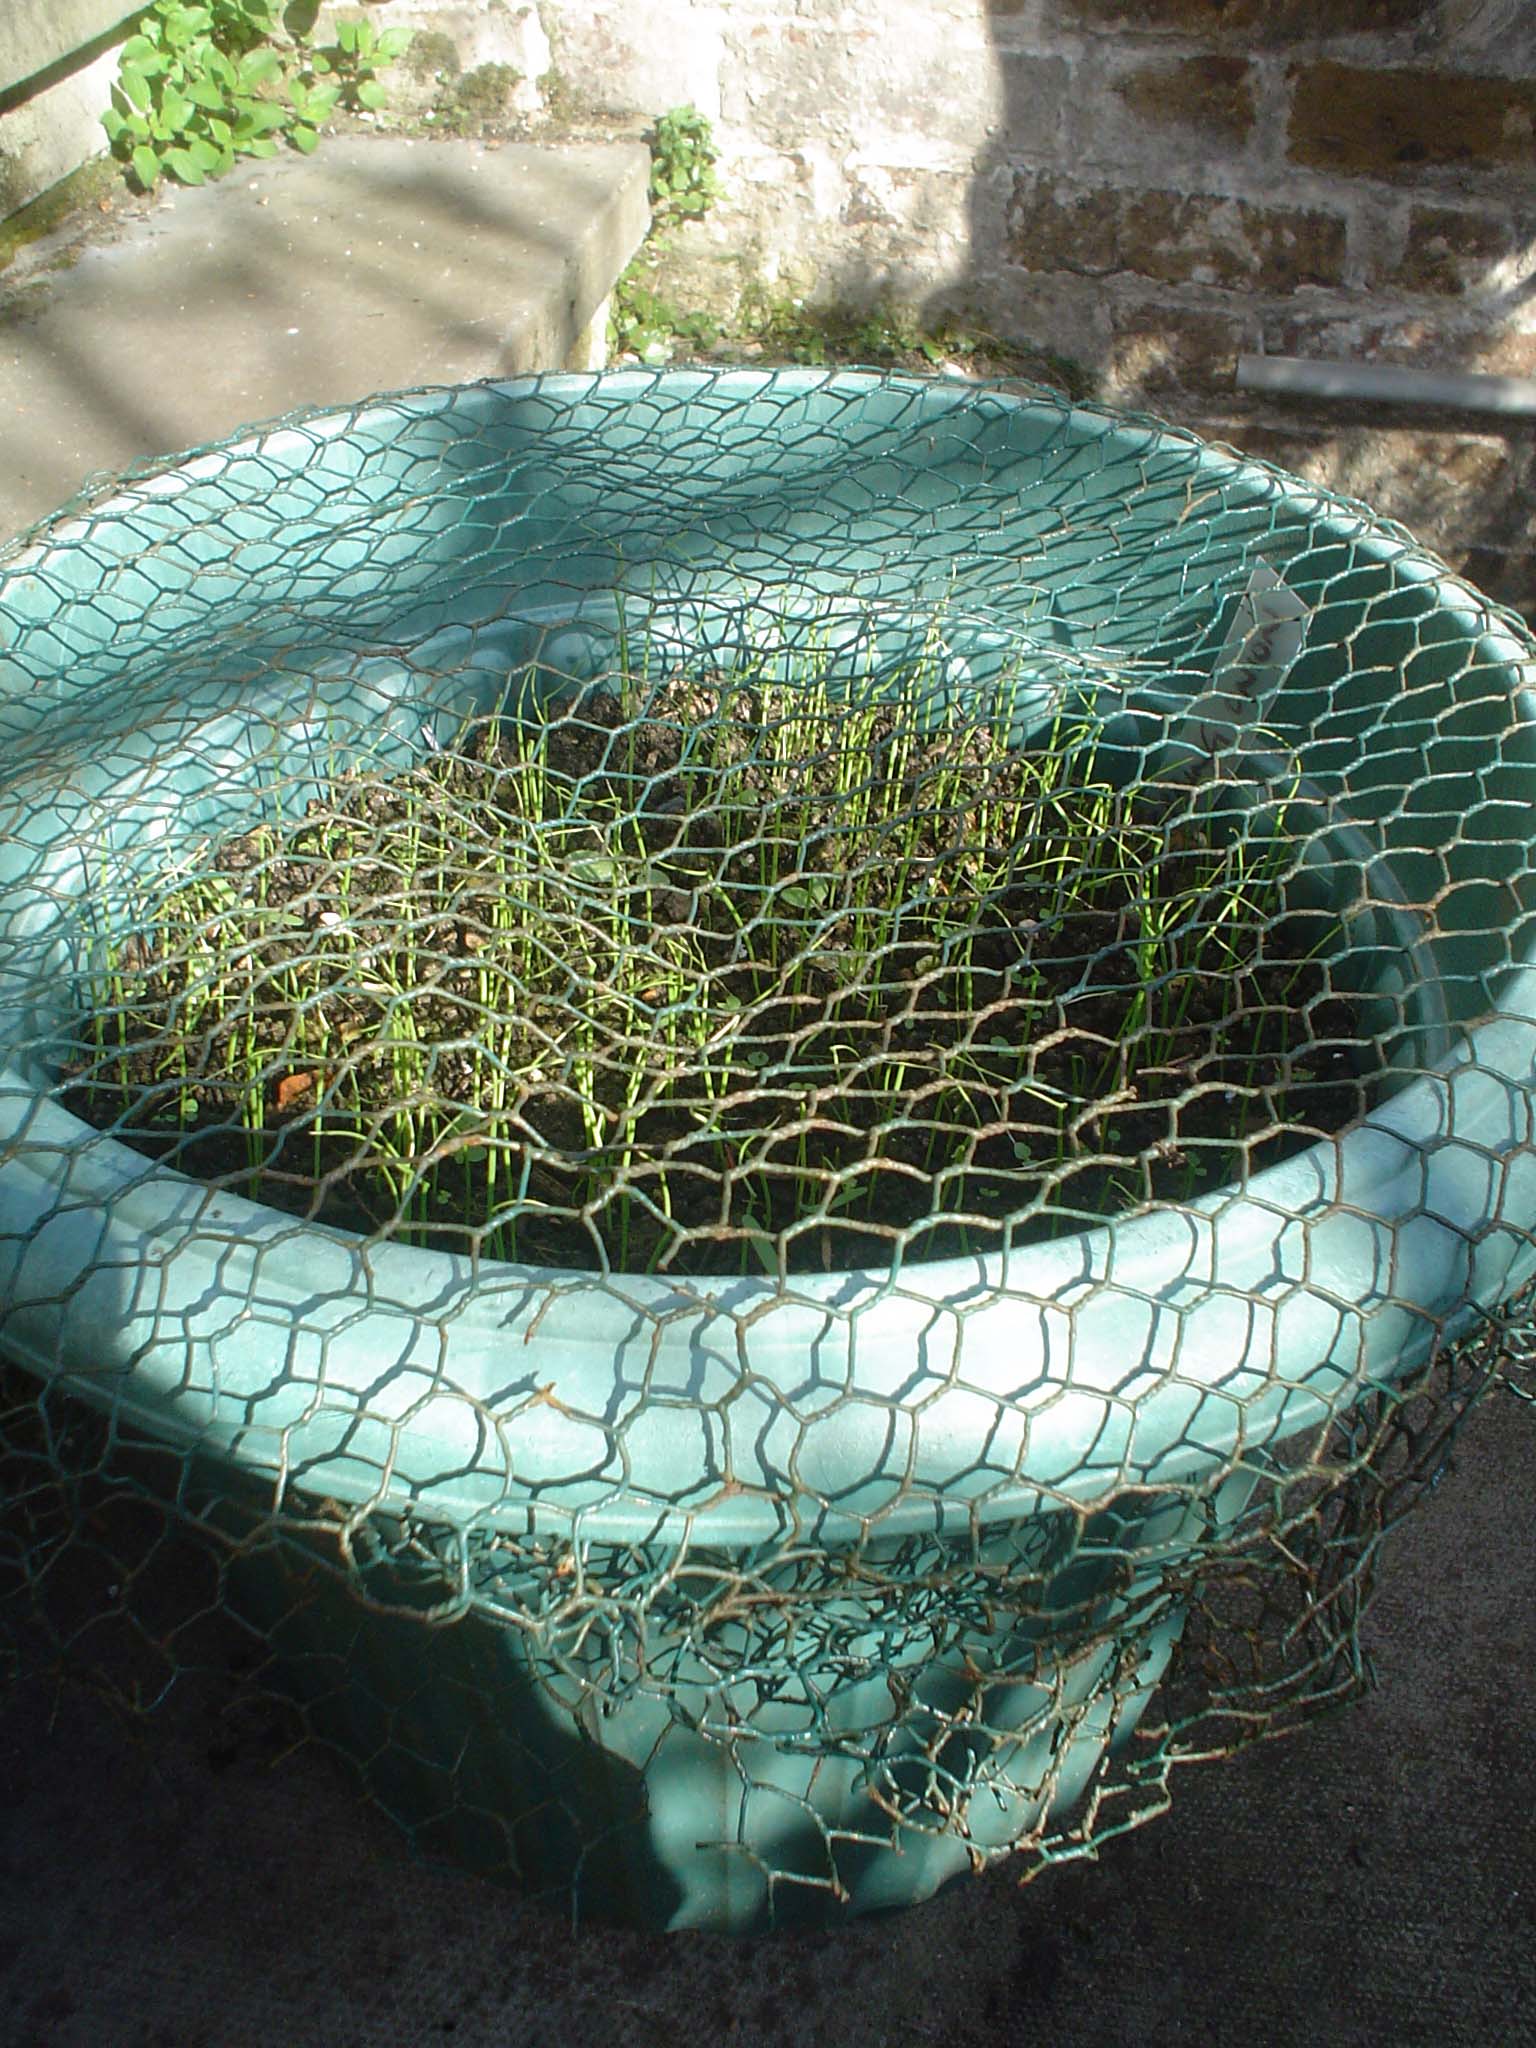
This is what the Brandywine seedlings look like now I’ve potted them up into individual pots. (It’s Saturday as I write this and the potting up took place on Wednesday. Took me ages, because I had to (a) find enough suitable pots in the corners of the garden, and (b) rinse them off to remove dead snails/spider eggs/worms.) Anyway, the Brandywine seedlings are the ones at the back – the ones towards the front are Gardener’s Pearl. They’ve got smooth-edged leaves, rather than the slightly curly-edged ones that you expect on tomatoes. Today I also potted up ten Gardener’s Delight seedlings, so all being well it should be a tomatotastic summer again!
| Well, I planted the Brandywine tomato seeds and here, about a fortnight later, is what the resulting seedlings look like. They will need to be transferred to individual pots very soon. I’ve also got a few seedlings of something called Gardener’s Pearl, which is a hanging basket tomato (it came as part of a big packet of mixed tomato and basil seeds, which I bought from my local pound shop last year). I was going to plant Tumbling Toms again this year, but what with the Brandywine, the Gardener’s Pearl and some good ol’ Gardener’s Delight that I’ve also just planted, I think the Tumbling Toms would be overkill. Even we can’t eat that much chutney LOL. |
 |
Today I’ve been outside cleaning seed trays, ready to plant tomato seeds. Speaking of which, the ones I ordered online (a variety called Brandywine) arrived in the post today, along with packets of rainbow chard, mizuna, giant red mustard and another Oriental leafy thing called Green In Snow. There’ll be lots of stir frying going on in a few months’ time!
The Brandywine variety of tomato is described on the Tamar Organics site/seed packet as “a large pink-fruited tomato regarded by many as the best flavoured”. If it lives up to its billing, I will be a very happy tomato eater 😆
The temperatures may have gone down to winter levels, but there are signs of spring in several places, including our rhubarb patch (see below). It’s in a corner of a shady raised bed which contains comfrey and Jerusalem artichokes as its edible components (not much other than that, apart from some elephant-eared saxifrage and a lot of snails). The plastic-coated chicken wire is to stop our cats from using the rhubarb patch as a toilet, and will stay in place until the rhubarb gets more established, using bricks/stones to adjust its height above the soil!

Categories:
crops Tags:
rhubarb

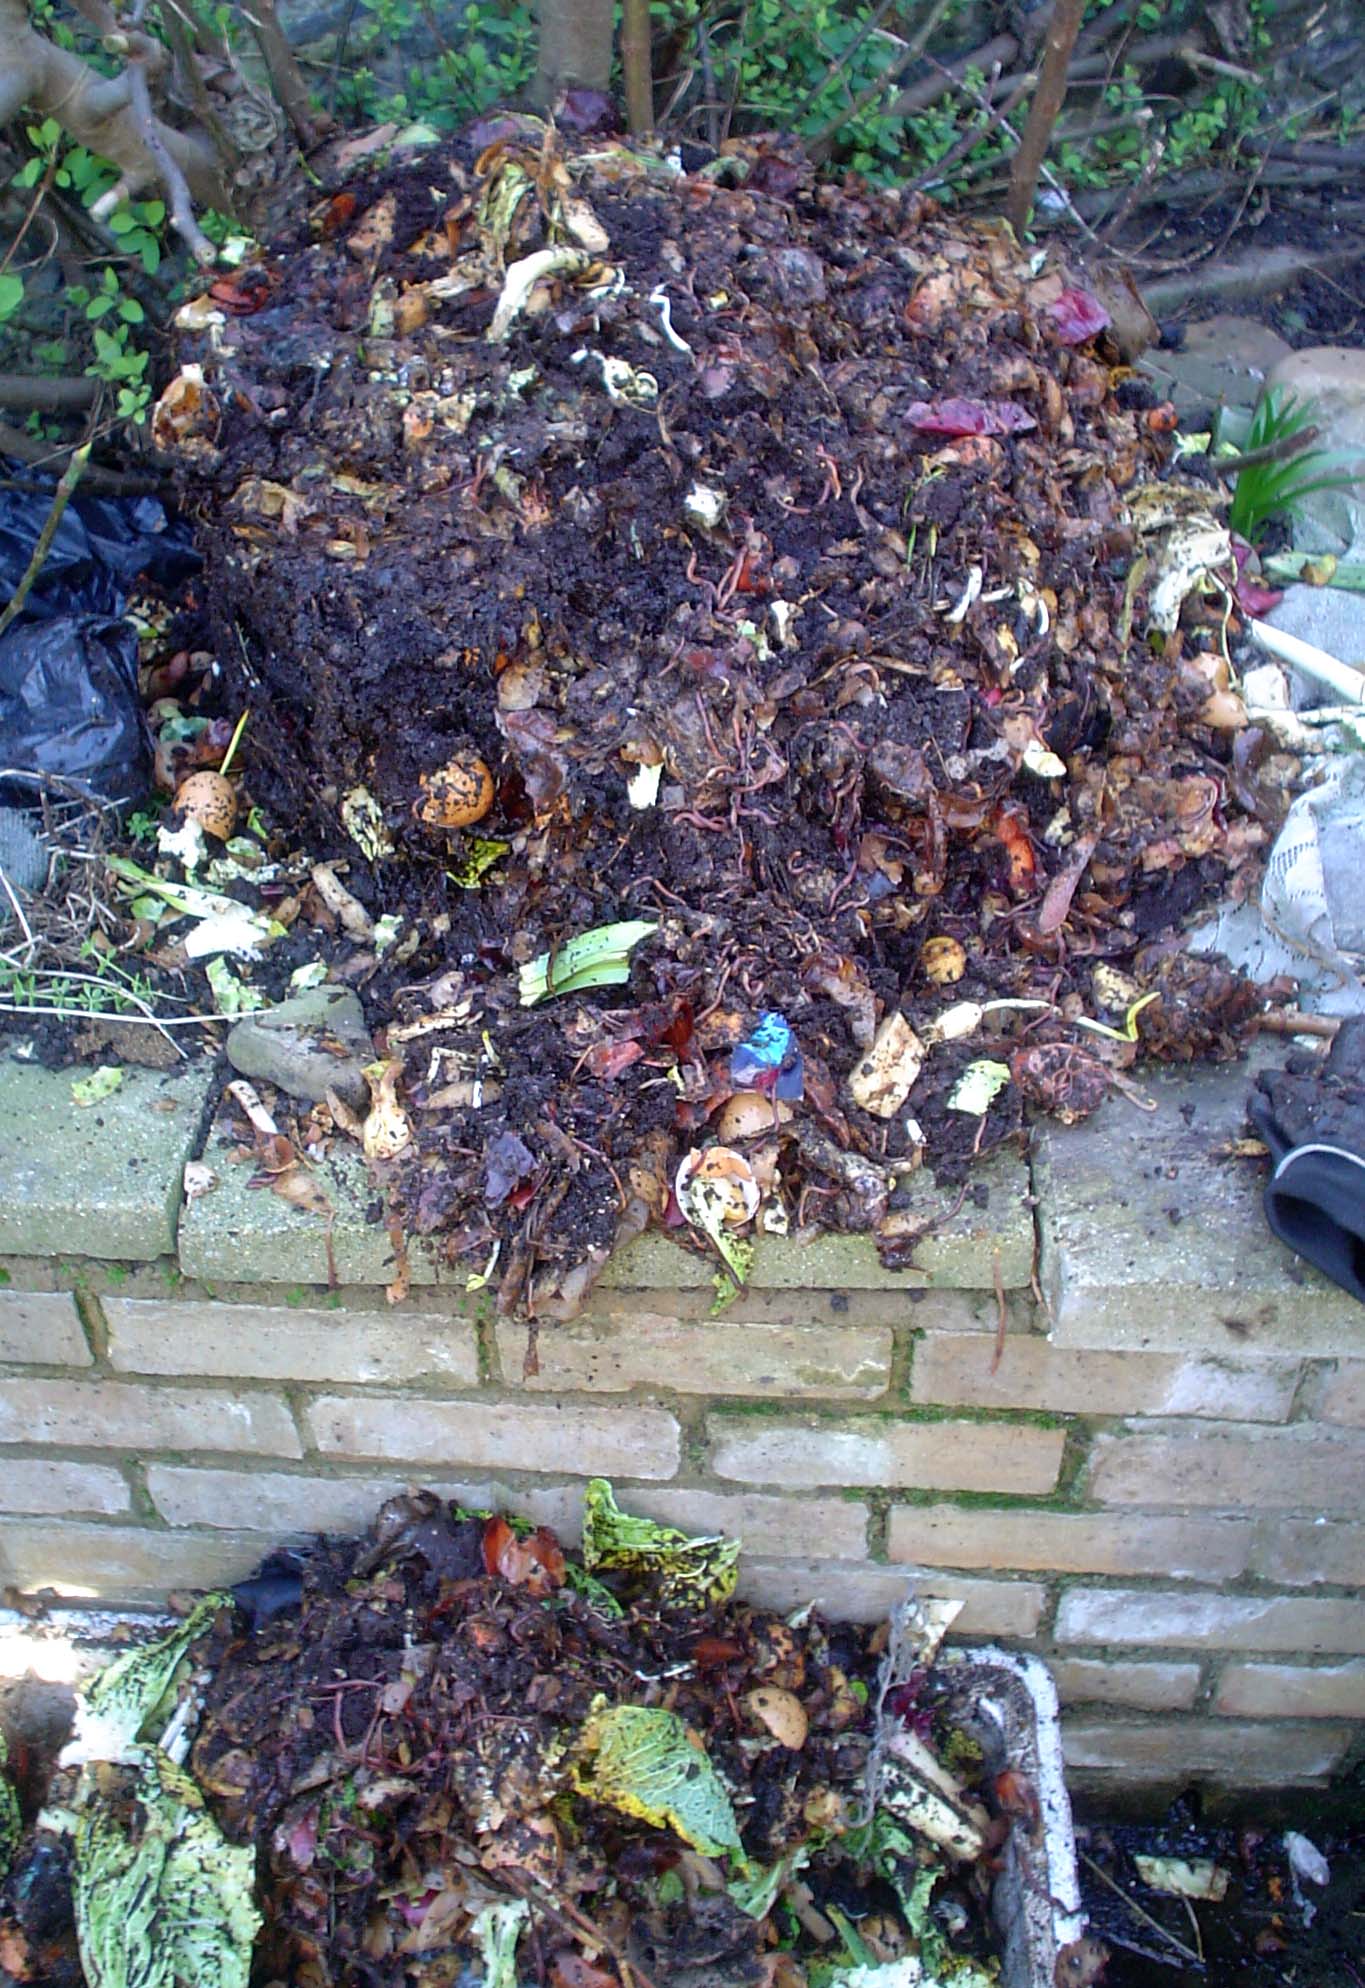
Today has been beautifully sunny – an ideal time to get out in the garden and mark what for me is the start of the gardening year. And what better way to do that than turn over the contents of our compost bin? The picture shows what was inside, after I’d taken away the top layer of recent stuff. As you can (just) see, it’s a worms’ paradise! Another layer down was the really yummy, well-rotted matter, which I moved to my specially-designed “compost hole” immediately to the left of the compost bin, before replacing the compost bin and sticking the less well-rotted stuff back inside. A handy tip for anyone who loves gardening but doesn’t want to get their hands too dirty: wear builder’s gloves. The palms have a rubberised layer which protects your hands, but the gloves are thin enough for you not to feel as though you’re trying to tie your shoelaces while wearing boxing gloves.
Another couple of months, and whatever’s in the compost hole will be ready to use. I ascribe the success of my tomato crops over the last two years to the use of pure home-made compost, so fingers crossed for this year! |
 |
This is a message of hope to anyone else out there who planted garlic cloves (elephant or otherwise) and thought they’d been killed off in the cold weather! All four of my elephant garlic cloves have now sprouted – one of them is shown below. Not only that, but all my cloves of conventional garlic have now done so too. Looking forward to roasted elephant garlic in the summer!